Let’s start with one of the biggest challenges concert photographers face: nailing exposure. Concert photography means often shooting in erratic lighting conditions, which can make it tricky to keep an eye on your exposure, especially if you’re shooting in full manual mode as I do. There’s nothing worse than setting up for a dim lighting cue only to have the lights unexpectedly blast the stage and cause you to badly overexpose your images because you forgot to pay attention to your camera’s light meter. Or worse, you miss a big jump shot because you were busy reviewing your recent exposures (aka “chimping”) to double-check your exposure levels.
The best part of mirrorless (the electronic viewfinder) is also one of the largest sources of complaints (more on that later.) But for me, the pros outweigh the cons. Being able to see a live view of the exposure in the viewfinder is game changing. Even better is that I can get a live histogram in the bottom right corner of the viewfinder as well! This has made chimping completely unnecessary, and has paid dividends in fine tuning exposure during my first few shows, saving me considerable time in post. It’s much easier to notice that your exposure is off by looking at a histogram or the scene itself rather than relying on your camera’s simplistic meter at the bottom of the viewfinder.
And for those times where you do want to review your images, or dive into some menus? You can do all of this in the viewfinder now! This is a great time saver since the camera never needs to leave your eye, but it also makes it easier to use the camera in bright sunlight since you don’t have to worry about shading the back screen to see stuff.
USB-C
Finally, I can charge my batteries without removing them from the camera! Very convenient when traveling.
I can also plug my camera into the computer for high speed data transfers, but I haven’t found that to be any faster than just plugging my CFExpress card into a dedicated reader.
Programmable Lens Control Rings
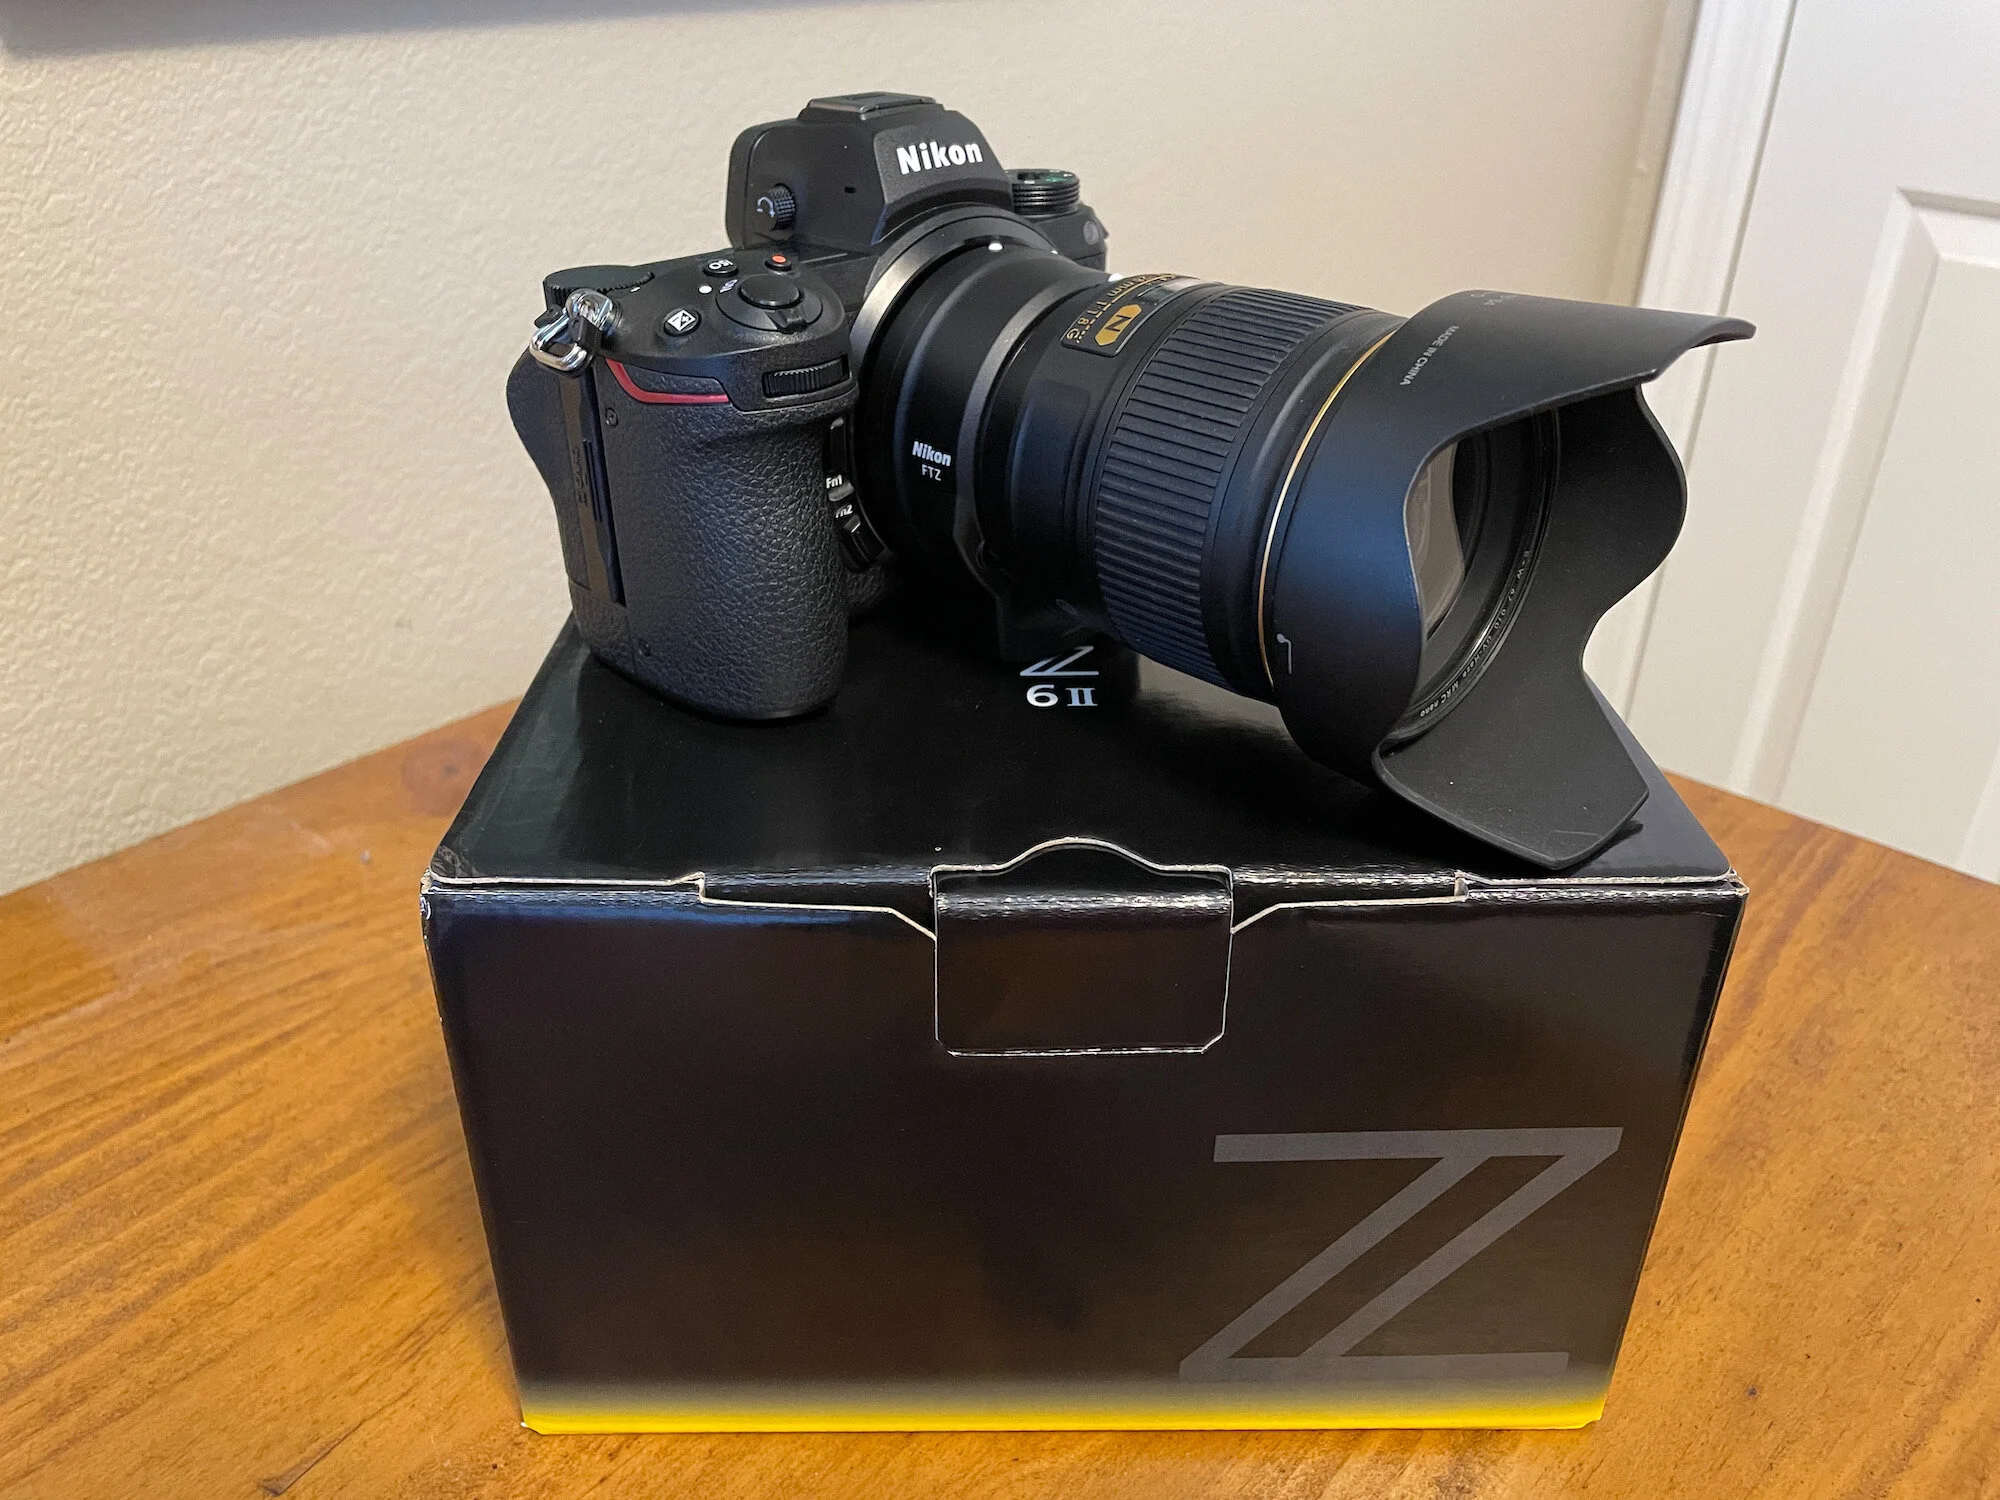
One nice feature of the new line of Z-mount lenses is the addition of a programmable control ring near the mount point. This ring can be used to control a few different camera settings like aperture or exposure compensation. I’ve got one Z-mount lens so far, and I’ve set mine up to control ISO.
While I’ve used auto-ISO in the past, I very much prefer to have complete control over all aspects of exposure, because it’s hard to trust the camera to make good decisions when shooting concerts (lots of deep black, lots of bright white tends to confuse the metering system!) But adjusting ISO in manual mode has always required pushing a button before turning a dial, which is awkward and sometimes hard to locate in the heat of the moment. With the control ring, I finally have a way to make ISO adjustments on the fly by simply turning a dial, same as with aperture or shutter speed.
What Required Adjustment
Viewfinder Lag
Because you’re looking at a tiny LCD screen in the viewfinder instead of looking directly down the lens, there’s a little bit of lag in what you’re seeing vs. what’s happening in front of you. It’s more noticeable when you pan aggressively, or when you have the camera set up in extended continuous high speed mode (14 fps) and the viewfinder blacks out a bit. This is the thing most people complain about with electronic viewfinders, and it’s an area that camera makers are aggressively trying to improve with each new model (faster sensor readouts! higher refresh rates! blackout-free shooting!) It takes a little getting used to when you’ve been shooting DSLRs exclusively.
So far I haven’t noticed the lag causing me to miss moments like I feared it would. Maybe I’ve just gotten used to anticipating the moments so I begin my bursts a little early, which compensates for the lag? But I always have this awareness in the back of my mind when I’m looking through the viewfinder now.

